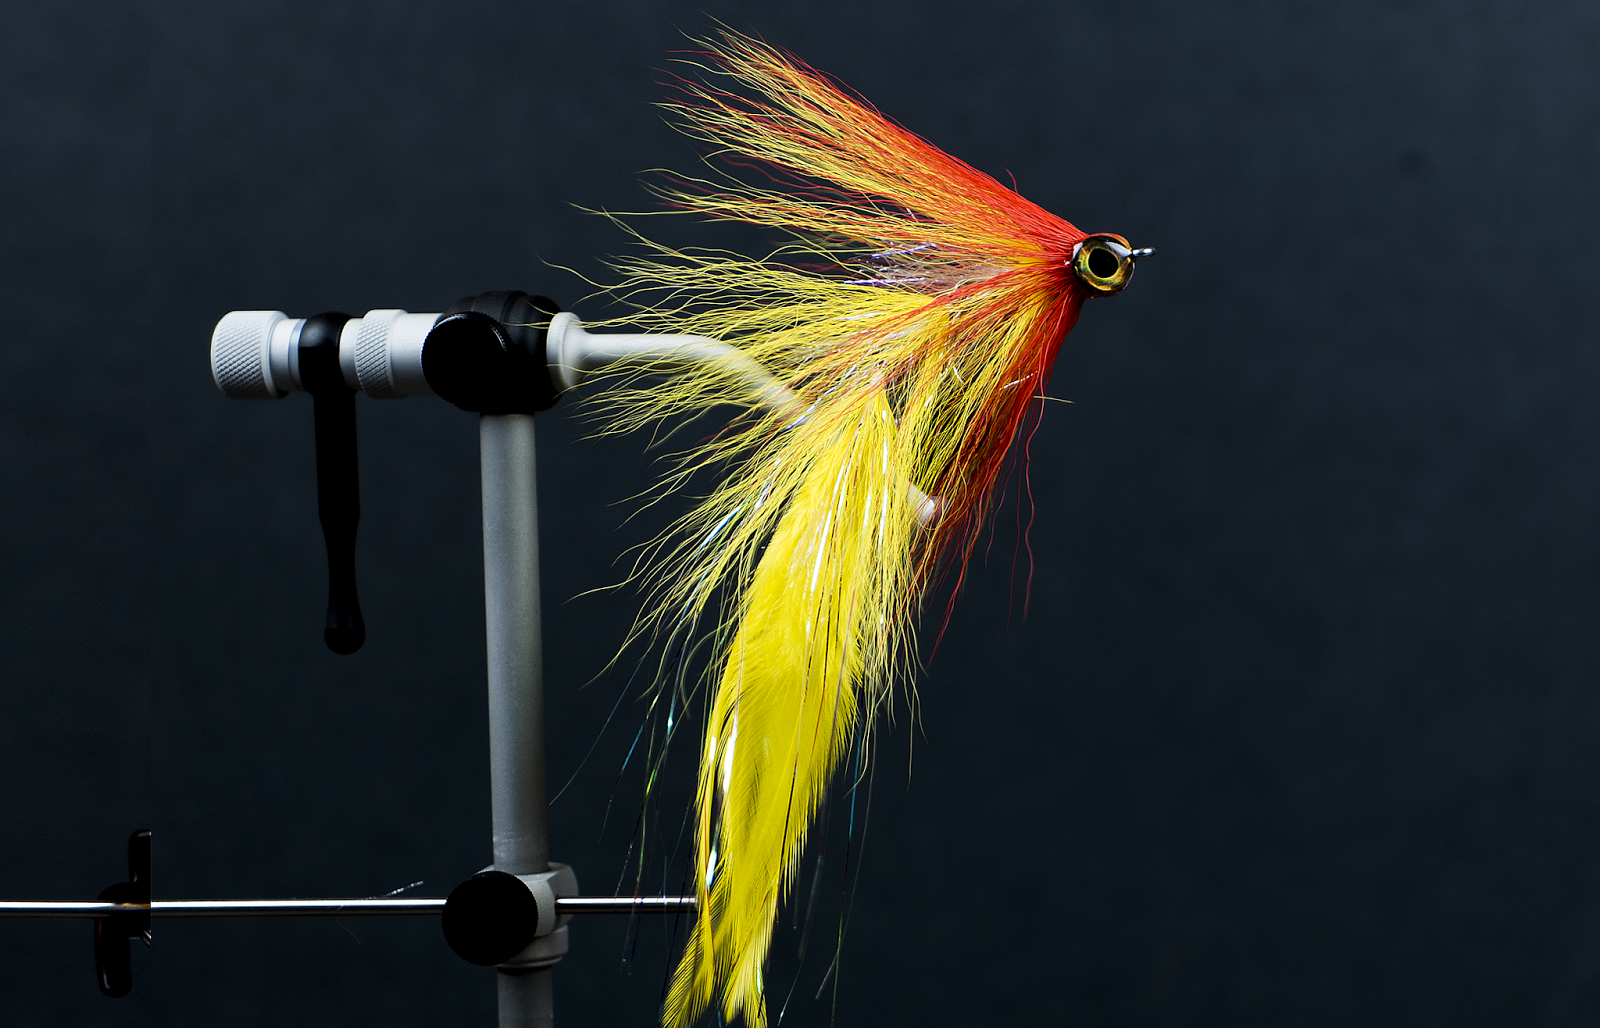
"The Peacock Punisher"
Over the years I have played around and fished with countless different fly designs for Peacock Bass. I have settled on this and only a few others. There are a few characteristics that I look for in a Peacock Bass fly. First and foremost it has to be durable. Flies that cannot hold up simply don’t have a place in my box...if you run out flies in the jungle you can’t take a ride to the local fly shop and buy more. Secondly a fly needs to be easily cast all day. You can count on putting in ten hour days on these trips and if your fly casts like a waterlogged chicken you simply will not be on your A game throughout the course of the day. Last but certainly not least is it has to have mojo. The more stimulating your fly is the more confident and engaged you will be on each and every cast. It is a lot harder to space out while fishing in one of the most humid climates on earth if you think your fly looks amazing, often times I catch myself talking out loud to the fly while fishing.

Brian Flechsig is heading up our January trip to the Amazon. The group leaves tomorrow, January 11th, for what will most definitely be an awesome week of fishing. I am looking forward to the pictures and stories that will follow upon the group’s return!
Pat Kelly- January 2018
“Peacock Punisher”- Recipe
Thread: 100 Denier GSP- Click Here
First Shank: Flymen Fishing Co. Articulated Fish Spine 25mm- Click Here
Second Shank: Flymen Fishing Co. Articulated Shank 20mm- Click Here
Hook: Gamakatsu SL12S 4/0- Click Here
Flash: Mirage Flashabou- Fl. Yellow- Click Here
Flash: Holographic Flashabou- Red- Click Here
Flash: UV Pearl Polar Chenille- Click Here
Eyes: Flymen Fishing Co. Living Eyes 10mm (color of choice)- Click Here
Articulation Point: Flymen Fishing Co. Articulated Shank 35mm- Click Here
Tail: Strung Rooster Saddles- Yellow- Click Here
Body: Yellow Bucktail, Red Bucktail- Click Here
Cement: Brushable Zap-A-Gap- Click Here
Epoxy: Loon UV Resin Thick- Click Here

1. Secure 25mm Fish Spine in vise and lay a foundation of thread from the eye all the way back to the bend.


*You may be asking yourself what the purpose of UV Polar Chenille is if your just going to cover it all up with the saddles…this material serves as a prop for the feathers, giving you a nice 3D shape. It also ensures maximum movement out of the feathers because they can not mat together when being stripped through the water.


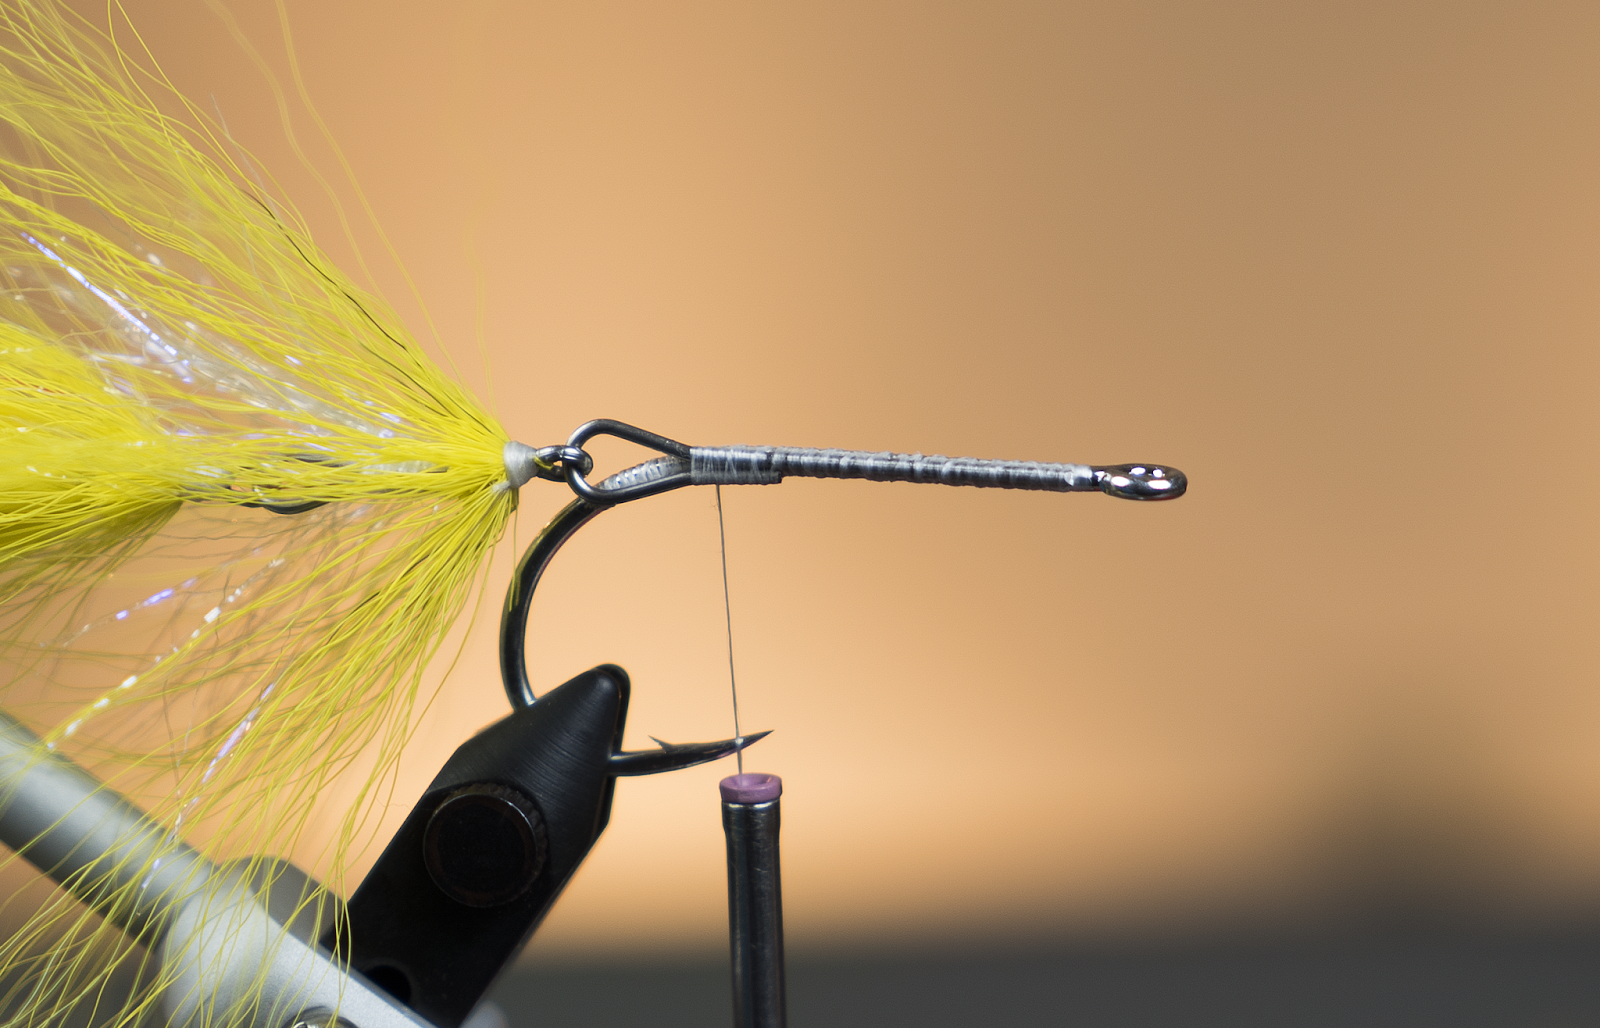
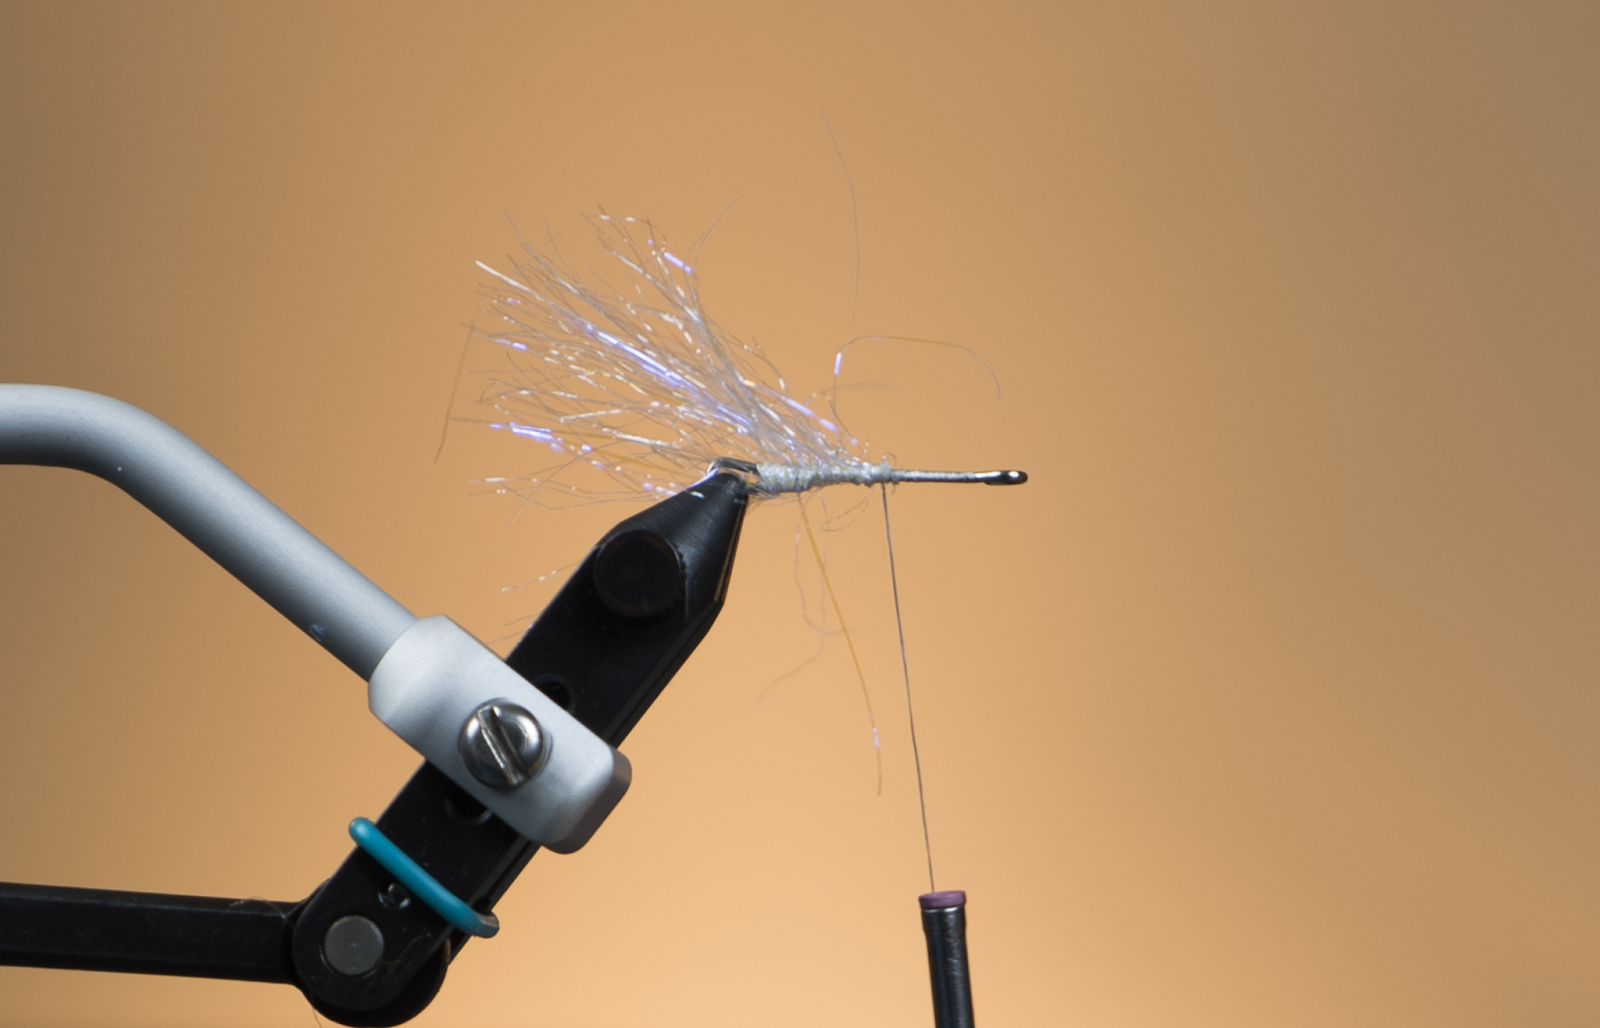
8. Secure hook in vise and lay a foundation of thread from the eye back to just into the bend of the hook. Take the 35mm Articulated Shank and with a pair of side cutters remove the equivalent of about three eye widths from the shank. You want the shank to be roughly the same length as the shank of the Gamakatsu SL12S 4/0. Now once you are finished thread the back two sections onto the 35mm Articulated Shank and lay it along the side of the hook shank. Begin at the back of the hook with very tight side by side wraps all the way up to the eye. At this point I like to apply a coating of UV Resin along the shank. Once cured lay down a coat of Hard as Hull head cement. These two steps ensure that the articulation point cannot be ripped out or compromised in any way by the fish.
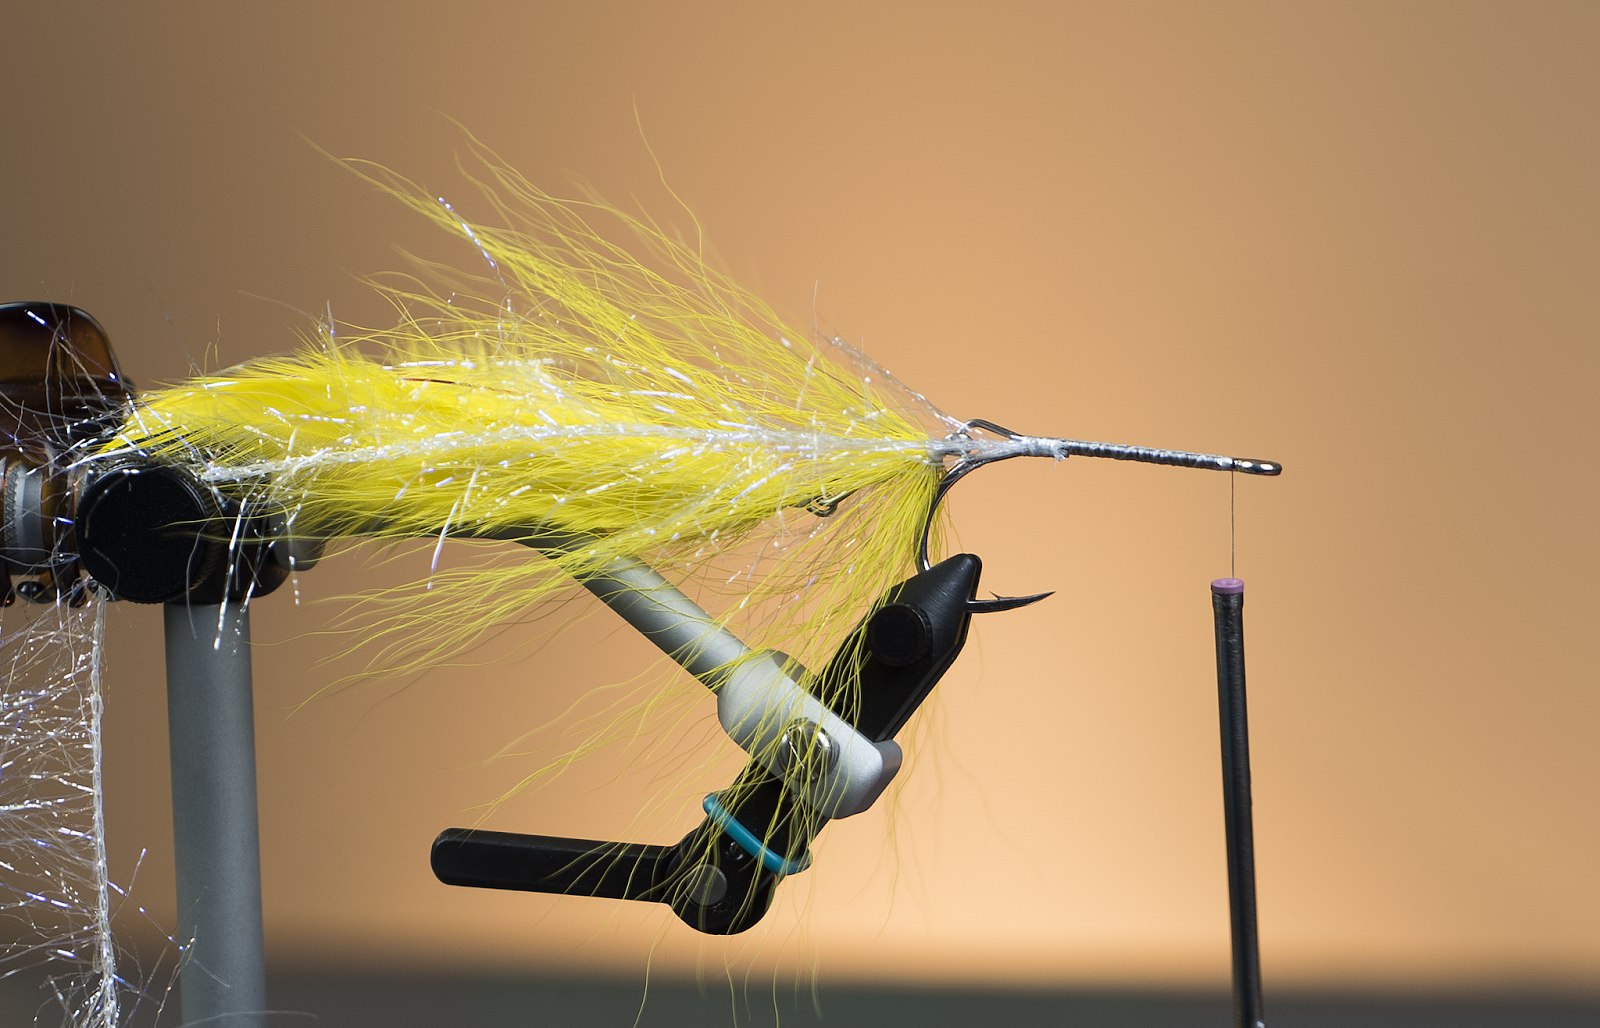
9. Tie in UV Polar Chenille- pearl and wrap a 1/3 of the way up the hook shank and secure.


12. This step is completely optional. I like to finish the fly off with yellow tying thread for no other reason than to accent the yellow body of the fly. (Without this step fish will not eat your fly).

So there you have it! If you find yourself chasing after Peacock Bass, this is a fly you NEED to have!
Watch the video!
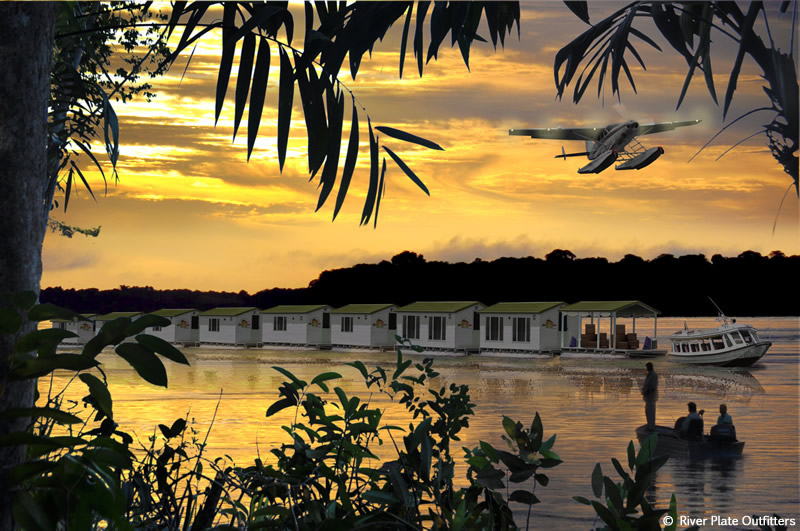
Mad River Outfitters hosted trips to Brazil for Peacock Bass!
Unique floating cabin system and exclusive virgin waters!
January 12th- 19th, 2019 with host Ryan Ratliff
January 11th- 18th, 2020 with host Pat Kelly
CLICK HERE for details, pricing and photos

Mad River Outfitters/Midwest Fly Fishing Schools
Fly Shop, Fly Fishing Guides, Hosted Fly Fishing Travel, Schools, Classes and more!
813 Bethel Rd.
Columbus, Ohio 43214
614-451-0363